


Reach through ductwork
Selected rod configuration extends to 25 feet.
🧹 Lint & Dust Removal
Flexible Connecting Rods
🔧 Drill or Manual Use
📏 25-Foot Configuration
🏠 Vent Maintenance Tool
Use Add to cart for your selected options. Payment options are available in your cart.
Couldn't load pickup availability
90-day guarantee. Try it risk-free. If you don't love it, get a full refund. No questions asked. No fine print. No hassle.


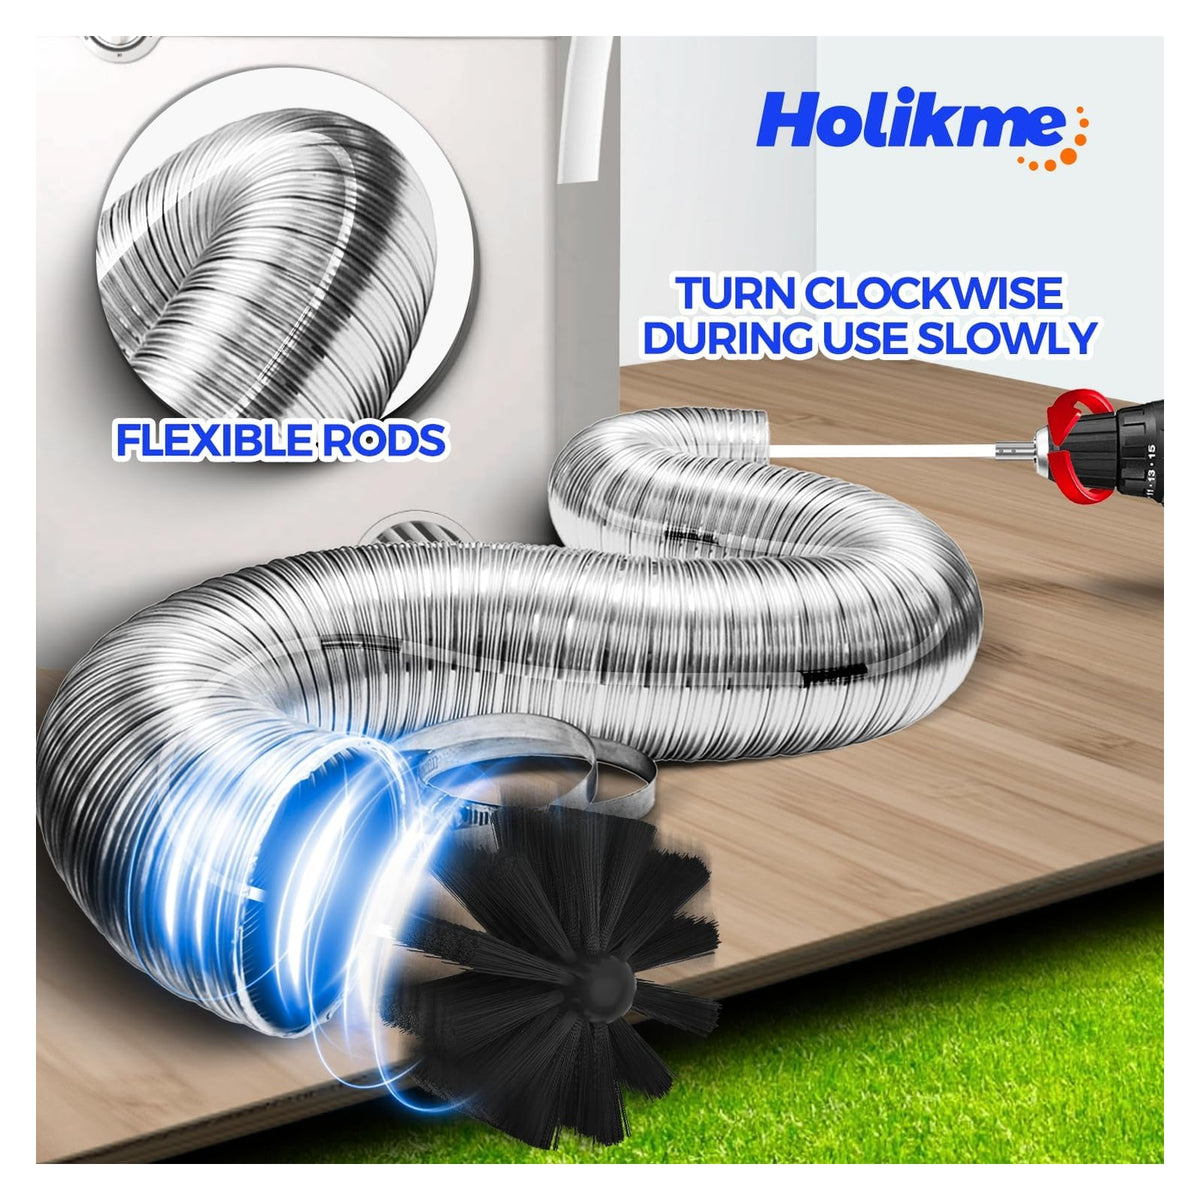


Selected rod configuration extends to 25 feet.
Follow tool directions and secure connections.
Choose a suitable brush for your duct diameter.
| Bundle | 1 Set | 2 Sets | 4 Sets |
|---|---|---|---|
| Included kit | 1 | 2 | 4 |
| Bundle saving | Standard price | 10% | Buy 3 Get 1 Set |
| Options | Your choice | Choose each set | Choose each set |
The selected 25-foot kit.
One kit in the selected color.
Yes, the source describes manual or drill-assisted use.
Follow instructions; the source recommends taping connections.
Check brush diameter and duct access before use.

Source: Amazon · Original product reviews; purchases were not made on this store.
Our dryer vents thru metal tubes; behind the dryer; a right angle upward, inside a 10’ tall interior wall-to the attic immediately above; has a second slight angle, and then an upwardly tilted tube to a vent on the roof. Our laundry room gets overly humid/warm sometimes; so I decided to do a vent clean-out, (at least 16 yrs) of potential lint. #1 RULE: Use ONLY the CLOCKWISE /righty-tighty direction w/the drill; even when backing the brush out. #2 SUGGESTION! : Watch the TUTORIAL on U tube -AmplifyDIY “How to clean your dryer vent duct.” His detailed instruction & especially the EXTRA HINTS gave me CONFIDENCE to buy this kit from Amazon. Bristles were the right size and density needed to remove lint and still allow it to fall back down the long tube. They held their shape, were stiff enough to get the job done; but also just soft enough to sweep with some flex/not scraping/damaging the metal tubing interior surface. Flexible, but sturdy extension rods, durable joints/construction. NOTE: I didn’t use a shop vac as in the video; but compensated w/a little clear tent (pics) to minimize dust. I pre-cut my electrical tape into 1.75” lengths; Wiped the connections & my fingers w/alcohol as I went, to remove dust & oils. Tape stayed on and removed easily afterward. I used 14 rods of the 21 rods. Advanced the brush/retreated/advanced again slowly for each rod length. As I got to where I think was the bend at a bend, I could hear the flexible rods “bopping around” a bit; but there was no reduction in operation. As I was reaching the pipe’s slight bend in the attic, and then again near the roof vent; is where noticeably larger amounts of lint dislodged/piled up at the entry point. Used my fingers to gently rake the lint onto the floor. Not knowing when I might reach THE END was a little bit concerning; since our roof is steep and I can’t access that vent if there’s a problem. I went very slow after that second “lint dump” began, and it was obvious when I reached the end since the brush had previously advanced so easily. Linger in that spot for a few extra seconds to break up any posible clumps. Very slowly retreated in advancing/retreating movements to dislodge any remaining bits. Proceed in reverse-order instructions to finish. >TOTAL SUCCESS! Clockwise-only motion (and tape, for peace of mind) kept the connections completely tight! Lots of lint removed. Simple enough, just patience with the a stop/extend/start the drill. Kind of messy; but I needed to sweep behind the dryer anyway! Saved a lot of money. See pics & video. We are only a two person family with no pets for “lint comparison...” and I clean my lint screen before EVERY load.
Gr8OKcooks


Our dryer vent goes straight up in the wall, into the ceiling, and the horizontally outside, where it makes another 90 degree U-bend outside. It is about 27 feet long, with a square 2x4” duct in the wall, and the rest are 5” hard ducting. From 30+ years of use, it was clogged - the symptom was that the dryer “clean lint filter” came on often, sometimes with an error message about clogged duct, and finally the heating element burned out. At closer inspection, lots of lint behind the dryer and washer, and two wasp nests at the outside opening. The vent cleaner kit is close to perfect. The one foot rod segments are made of flexible polyethylene and screw together in normal clockwise direction. On one end, you have a 1/4” attachment for an electric driver, and the other end attaches one of the two brushes. The kit comes with a round 4” brush for cleaning the duct, and 1” elongated brush for cleaning inside the lint chute. You operate it by adding segment by segment, and then in reverse you go out, taking one segment off at a time. The rods are made of PE, so if you apply too much torque they twist-off, destroying the rod - this is to protect your duct from being torn apart. I destroyed three of the segments, until I understood the max torque I can use, setting the driver clutch correctly. Since our duct was entirely closed and lint on the duct-walls was tough like felt, it took a lot of afford and multiple hours of work. The rods made all bends, but the one from the round duct into the square. It made it in about 20 feet from both directions, overlapping somewhere inside. It should have made the bend coming from the square to round side, but I guess, there is too much torque required when all bends add up. There are two problems I encountered, while the cleaner kit was great in loosening the fibers from the wall, it was not as easy to get them actually out. I went in probably 10-times from both side, pulling out a bucket full of fibers each. In the end, I decided to use a gas-powered leave blower to blow-out the loosened fiber, which resulted in a spectacular show of a fiber-fountain. The second problem is the rods that are connecting via CW threads. They are easy to put on, but really difficult to get off. I tried to hold the second rod, and turn the driver CCW, but this would disconnect half of the time the rod, and half of the time the driver bit at the end, in which case you need some pliers. The other big warning is, unlike other segmented drill bits, you DO NOT turn it CCW when going out. Always CW, otherwise you will lose segments in the duct - it happened to me but I was able to fish it out. Overall, short of calling a contractor, the product worked close to perfect. Btw, cleaning the vent in the dryer and the dryer-vent-hose was super easy as fibers were not felted onto the walls, yet. If your duct is short, and is regularly cleaned, it will take you perhaps an hour. In my case, it ended up taking all Sunday.
Stefan Brunner
This thing is phenomenal. It’s axe simple, and extremely effective. My vent is buried in the wall, about 10 feet total length with one 90 degree elbow. I was able to easily work it from the wall to outside following directions and cautions. I turned it with an 18 volt drill. The important thing is it removes a LOT of lint. I ran mine thru about 25 times, and wound up with 4 cubic feet of dense lint! With this brush and my shop vac I was able to clean down to shiny metal. The amount of lint one can remove is amazing. Now, it’s not easy to disassemble with bare hands, at least not for me. I used slip joint pliers to hold the joint, and a small blip of the drill while in reverse made the takedown task easy enough. It’s an inexpensive brush, but so effective I feel dumb that I didn’t try it sooner. It’s robust enough to last a very long time, but I would buy it even if it was disposable.
GH
We were quoted $400 to have a single dryer vent professionally cleaned, so I decided to give this kit a try. I was able to clean our vent myself in less than 15 minutes, and it did exactly what I needed it to do. The rods are flexible enough to navigate the vent, but there is a little technique involved. If you feed too much of the assembled rod in at once, it can twist back on itself. We found it works much better to add and work the rods into the vent a few sections at a time. Afterward, the sections can be a little difficult to separate by hand. A pair of pliers makes that much easier, so I'd recommend having some nearby. Our dryer vent hadn't been cleaned in about five years—far longer than it should have been. After cleaning it, the dryer is noticeably more efficient, and there's also peace of mind knowing we've removed years of lint buildup that could contribute to a dryer/vent fire. For homeowners who do even basic DIY projects, I'd rate this about a 1 out of 5 for difficulty. Now that we own the kit, cleaning the vent annually will be quick and easy. For the price compared with the $400 quote we received, this was an excellent purchase and paid for itself immediately.
J. Myers


I bought this expecting to pull a little lint out of my dryer vent. The amount of crap that actually came out was shocking. You clean the lint trap after every load and assume you're doing a good job, but that doesn't show you what's accumulating farther down the vent. Using this is incredibly simple. Connect the brush, add as many rods as you need for the length of your vent, attach it to a drill, and slowly work it through. The rods screw together easily and they're flexible enough to work through bends in the duct. IMPORTANT TIP: Make sure your drill is spinning CLOCKWISE/FORWARD the entire time. Do NOT put it in reverse while the rods are inside the vent. The rods screw together clockwise, so reversing the drill can actually unscrew a connection and potentially leave part of the tool stuck inside your vent. Also don't force it if you hit resistance. Back it out a little and work through the bend slowly. Another tip: keep a shop vac nearby. As you pull the brush back out, you're probably going to have a pile of loose lint to deal with. The instructions specifically suggest vacuuming out the lint you dislodge. After seeing what this removed from mine, cleaning the dryer vent is now going on my annual home-maintenance list. The U.S. Fire Administration recommends cleaning dryer vent ductwork every year, so this isn't just about making your dryer work better. It's legitimate preventative maintenance for your house. For what this costs compared with having someone come clean the vent, it's one of those homeowner tools I'm glad I bought. Just remember: CLOCKWISE ONLY.
Mike O
I've used the 30-foot-long kit twice so far in the last three years with very gratifying results. My vent tube run is about 26 feet (based on the number of sections needed) with three 90-degree bends. Using an electric drill I can push/pull the brush all the way through from inside the house to the outside vent and back with minimal effort. One precautionary thing I do is secure the drill reversing switch in the clockwise position with a bit of duct tape. The job takes about an hour and is fairly easy (except for moving the dryer) and the difference a clean vent tube makes in the dryer performance is magnifico. Not a single negative thing I can say about this little gem.
Yardman
Affordable and durable kit that does the job of cleaning the dryer vent(s). Highly recommended
Amazon Customer 0
My first time to clean a 28 foot dryer pipe. The pipe had a large amount of dryer lint in the pipe because for a couple of years, a family ran the dryer without using the dryer filter! Because I didn't know how much lint had collected in the pipe, I ran the brush through the pipe at a rate of about 5 cm/sec through the pipe with the drill spinning the brush at a rate of 60-120 revolutions/second. Everytime I did this, a pile of lint (1-1.5 liter loose) was pushed out toward the dryer. After 3 cleaning cycles, the amount of lint being pushed out was less than 200 ml of loose lint. The brush had to navigate through five 90 degrees elbows. I did so by slowing down the revolutions and pushing/pulling on the assembled staff to push it past the elbow. Though I had started only lengthening the staff one segment at a time, I realized that i could lengthen it two segments at a time. A highly recommend this item. It was pretty simple and certainly seems as though it did the job. Wish i had a pipe camera to confirm though!
Dave
This 4" dryer vent kit was perfect and helped me clean out the vent from the dryer to the outside vent. Had more than enough extensions. Even the thinner brush was used to clean the inside of the dryer. Was able to remove at least 95% of the accumulated dust. Please note that the extensions can stay a bit bent. That is why you must use the drill at a slower speed than 1/2 speed. This gives a chance for the brush and the extensions to go around bends in you vent tubing without forcing. Also, after you finished cleaning your vent, tubing and machine as best you could, I highly recommend that you start your dryer for 30 seconds. It will push all the remaining loose dust towards the outside vent that you can clean out. Then you're done. To prevent a fire in your dryer, it's recommended that we clean out the vent and dryer yearly. I highly recommend it.
drom99
Works as it should. I used all 30 feet to clean out an extended dryer vent. Amazing job. Remember DON’T put the drill on reverse. Forward rotation even when pulling back out.
The Quinn family

Choose your kit